

ووردبريس WordPress أفضل شبكة CDN للصور مجانية cloudinary
ووردبريس WordPress أفضل شبكة Free Image CDN للصور cloudinary
The Cloudinary WordPress plugin is designed to optimize your site performance and improve user experience with faster page load times, advanced auto-responsive delivery, lazy loading and better visual experience. Automate image quality and video encoding settings, scale and crop images using AI to focus on the most important region, apply comprehensive video and image transformations and effects, display assets via an interactive media gallery, and deliver optimized media experiences to any device in any resolution or pixel density.
-----------------------------------------
Quickstart
-----------------------------------------
- Sign up for a Cloudinary Programmable Media account or log in to your existing account.
- Install the Cloudinary WordPress plugin from the WordPress plugin directory.
- Complete the setup wizard, following the instructions to add your connection string and select your sync and optimization settings.
- Your existing media will begin syncing with Cloudinary and your media URLs will be updated to enable optimized media and fast delivery via CDN.
- That's it! Sit back and enjoy your improved site performance and greater user experience. You can keep an eye on your bandwidth savings and usage via the plugin dashboard.
Note
If you're signing up for a new account, make sure to select the Programmable Media product.
-----------------------------------------
Installation and configuration
-----------------------------------------
Before you install the Cloudinary plugin, make sure you have a Cloudinary account. Sign up for a free plan, starting with generous usage limits and when your requirements grow, you can easily upgrade to a plan that best fits your needs. More pricing information is available here.
Install or upgrade the plugin from the WordPress Plugins directory. You can open this from the Plugins dashboard by clicking Add New. Search for "Cloudinary" to bring up the Cloudinary Plugin.
Alternatively, you can install the plugin manually:
- Download the plugin.
- Click Add New to go to the Plugins Directory.
- Click Upload Plugin and then Choose file to select the Cloudinary plugin zip file.
- Click Install Now to begin the installation.
- Once installed, click Activate Plugin to begin the Cloudinary setup.
-----------------------------------------
Setup
-----------------------------------------
Once you’ve activated the plugin, a new Cloudinary menu item will be added and you’ll begin the setup wizard to connect your Cloudinary account to WordPress and pre-configure the essential settings.
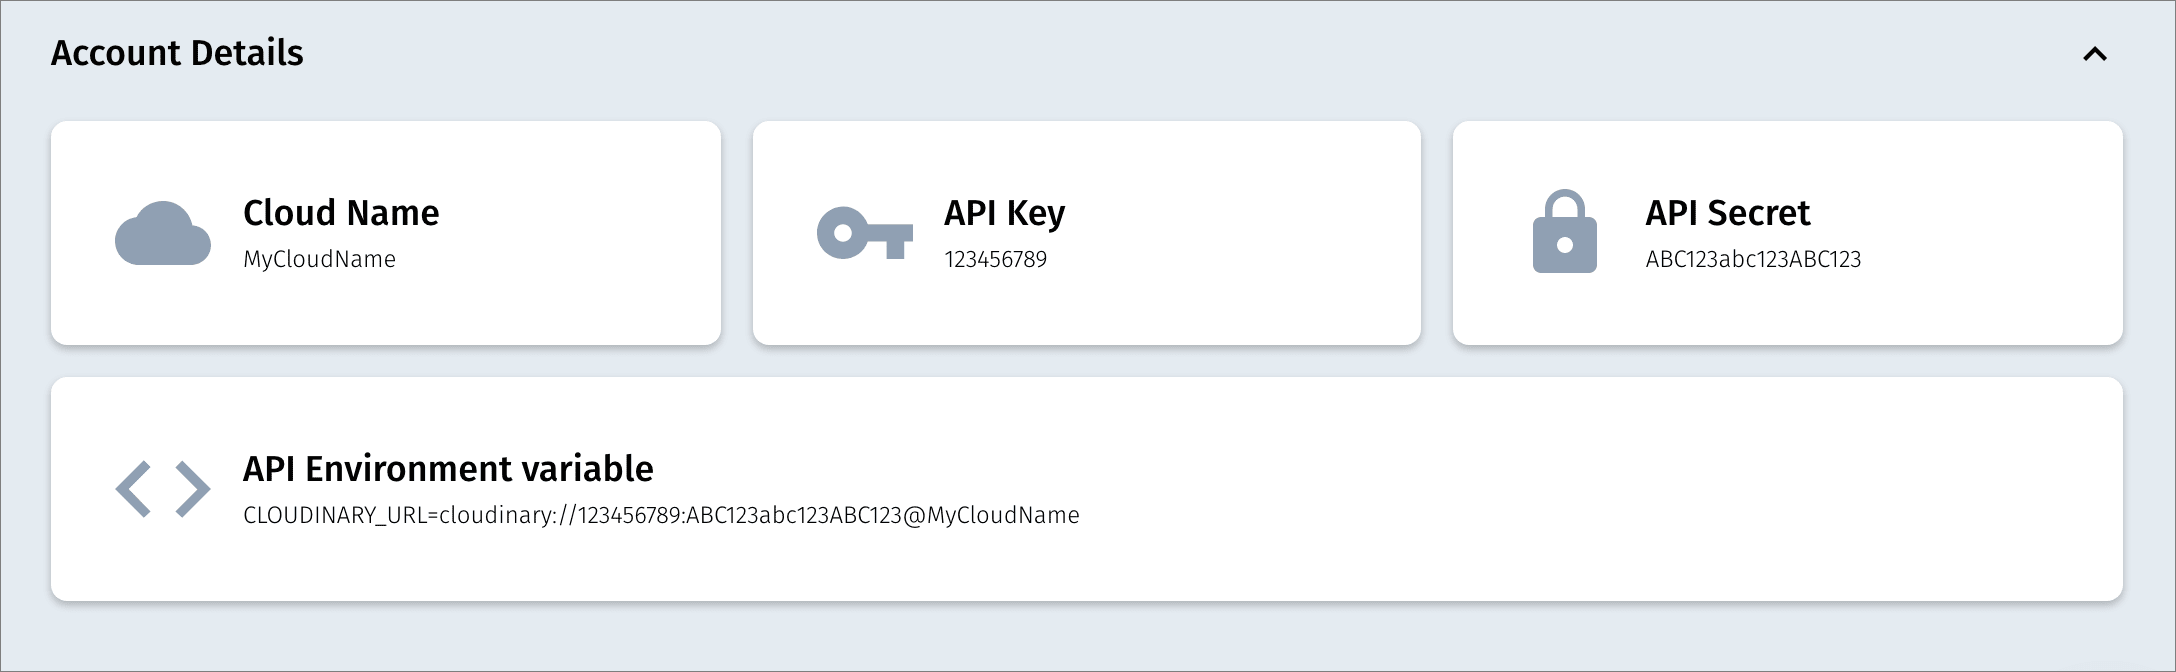
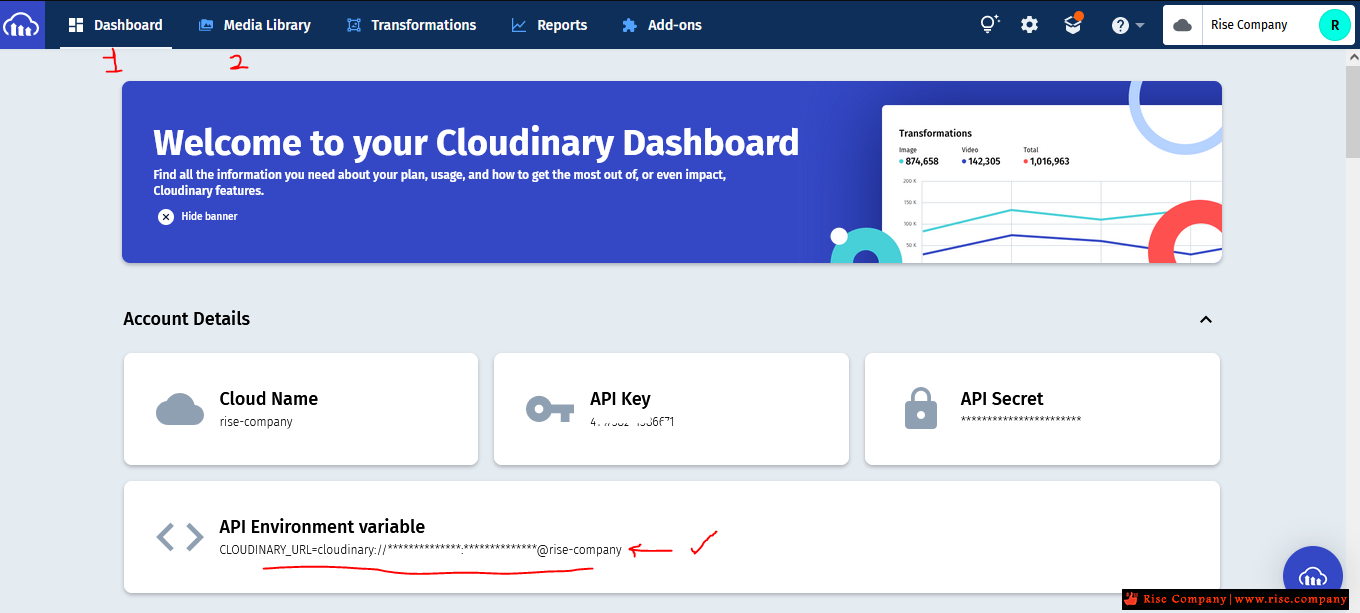
When connecting your Cloudinary account, you'll need to add your connection string; you can find this in the Account Details section of the Cloudinary Console Dashboard:
----------------------------------------
الخلاصة
----------------------------------------
كل ما عليك عمله هو تسجيل حساب وهتجد API جاهز قم بعمل copy
ثم داخل الووردبريس تثبت cloudinary ثم ضع api ومبروك انتهى
دون عمل اى اعدادات اضافة ؟ نعم انتهيت
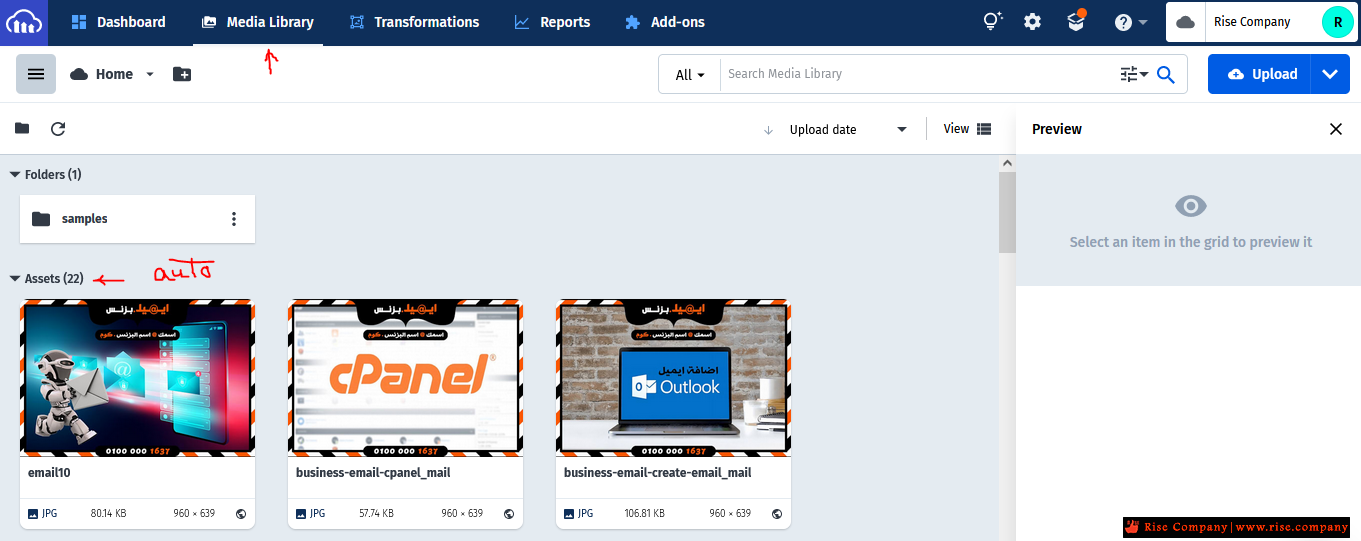
وكل ماتذهب الى صفحة هتجد ان الصور اصبحت cdn بعد ثانى refresh
لان عند اول زيارة بيقوم plugin بعمل auto upload الى cdn
يعنى مش الاضافة هترفع صور الموقع كلها مرة واحدة !!
لكن هترفع الى هيتم تصفحة وهيفضل للابد على cdn
النتيجة هتجدها هنا ان cdn رفع الصور
ملحوظة :
يعمل cloudinary بشكل سليم مع cloudflare
ولا يوجد whitelist ip يتم وضعه لان الشركة تستخدم dynamic
وذكرت ان لها عدد كبير جدا فلا يوجد static ip لها
فى حالة وجود مشكلة الغي Bot Fight Mode فى الكلاود فلير
الموقع
cloudinary.com
المرجع:
https://support.cloudinary.com
https://cloudinary.com/documentation...ss_integration
https://support.cloudinary.com/hc/en...7152-IP-Ranges
+ إنشاء موضوع جديد
النتائج 1 إلى 1 من 1
-
08-01-2022, 04:41 #1Status
- Offline

- تاريخ التسجيل
- Apr 2014
- الدولة
- Egypt
- المشاركات
- 4,618
 Engineering and Technology
- معدل تقييم المستوى
- 10
 ووردبريس WordPress أفضل شبكة Free Image CDN للصور cloudinary
------------------------------------------------------------------------
ووردبريس WordPress أفضل شبكة Free Image CDN للصور cloudinary
------------------------------------------------------------------------
شركة رايز للهندسة و التكنولوجيا Rise Company for Engineering & Technology
------------------------------------------------------------------------
Web Hosting | Web Designing | E-Marketing
رقم # 1 فى خدمات الشركات Business Services
استضافة مواقع Web Hosting - عمل ايميل شركة Business Emails
تصميم موقع شركة Web Design - تسويق الكترونى على جوجل Google Adwords
www.rise.company | www.rise.company/emails
ملحوظة : جميع خدماتنا مخصصة للشركات فقط وغير متاحة للافراد
وليس لنا اى منتجات او صيانة نهائيا! يرجى الانتباه الى ذلك.


 رد مع اقتباس
المواضيع المتشابهه
-
ووردبريس WordPress كلاود ايمدج Cloud Image شبكة CDN للصور
بواسطة Rise Company في المنتدى قسم ووردبريس WordPressمشاركات: 0آخر مشاركة: 08-01-2022, 02:51 -
ووردبريس WordPress اليمينتور Elementor حل مشكلة Change lightbox image size
بواسطة Rise Company في المنتدى قسم ووردبريس WordPressمشاركات: 0آخر مشاركة: 06-07-2021, 06:54 -
برنامج تحويل الصور الى pdf مجاني image to pdf converter free pdfarea.com
بواسطة Rise Company في المنتدى رايز للكمبيوتر Rise Computerمشاركات: 0آخر مشاركة: 19-07-2020, 12:50 -
ووردبريس Wordpress تعطيل التفريغ بعد 30 يوم wordpress trash auto delete
بواسطة Rise Company في المنتدى قسم ووردبريس WordPressمشاركات: 0آخر مشاركة: 25-05-2020, 01:48 -
ووردبريس Wordpress عمل استعادة للصفحات wordpress pages revision / history
بواسطة Rise Company في المنتدى قسم ووردبريس WordPressمشاركات: 0آخر مشاركة: 13-05-2020, 01:12

المفضلات